How to Trim Climbing Skins
Most climbing skins require some trimming in order to perfectly fit the shape of your ski. Trimming skins is a bit of an art, but anyone can do it with a bit of patience and attention to detail. This guide will help you learn how to trim climbing skins – leave yourself plenty of time to work so you aren’t rushed.
I’m going to show you how to trim a pair of Contour Hybrid Mix climbing skins. We’re going to be testing these skins this season, and need to get them trimmed up. If you have a different brand or model, that’s fine – the same principles apply to pretty much all climbing skins.
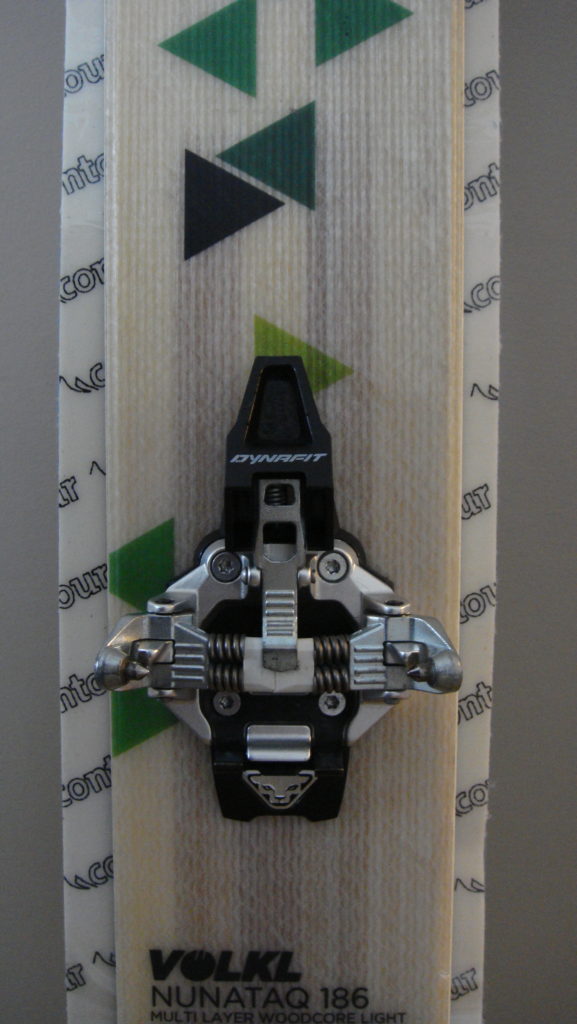
Some skins come pre-cut for a specific ski. If that’s the case, you can stop reading right now since there is nothing further you need to do. Many Volkl skis, Dynafits, and some K2 skis have custom cut skins available for them. Lucky.
If you’re still looking for climbing skins, check out our guide here.
Tip and Tail Connectors
There are a few different types of connectors found on climbing skins, but they all have the same purpose: keep the skin attached to the tip and (usually) the tail of the ski. Some skins don’t have a tail connector, and instead just rely on the glue to keep the tail in place.
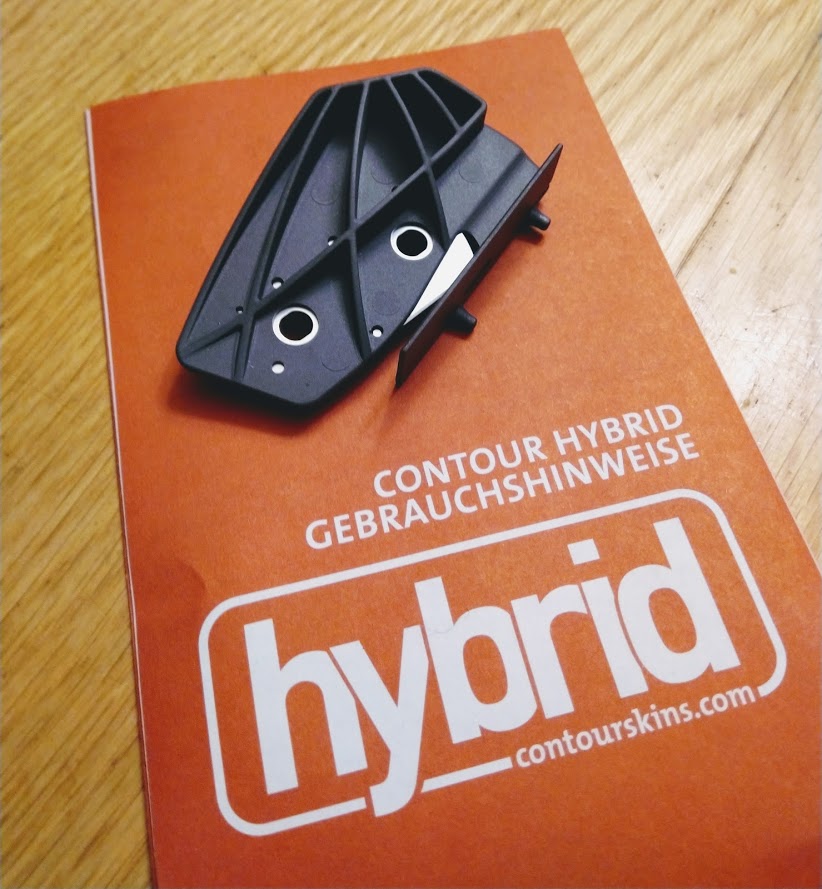
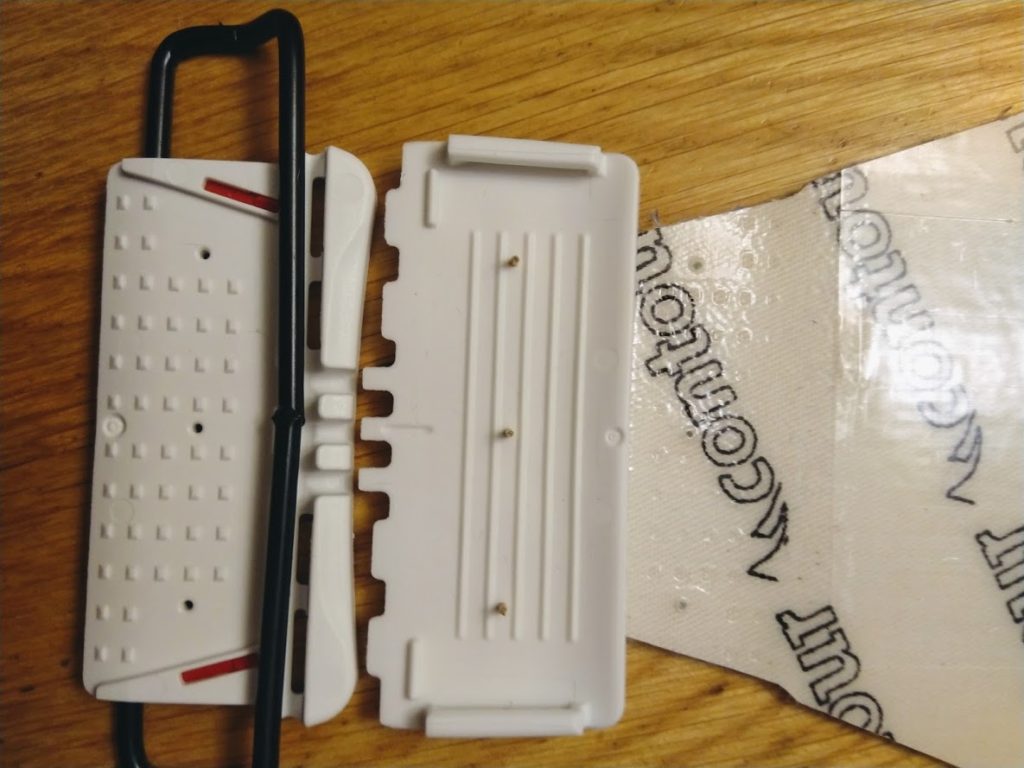
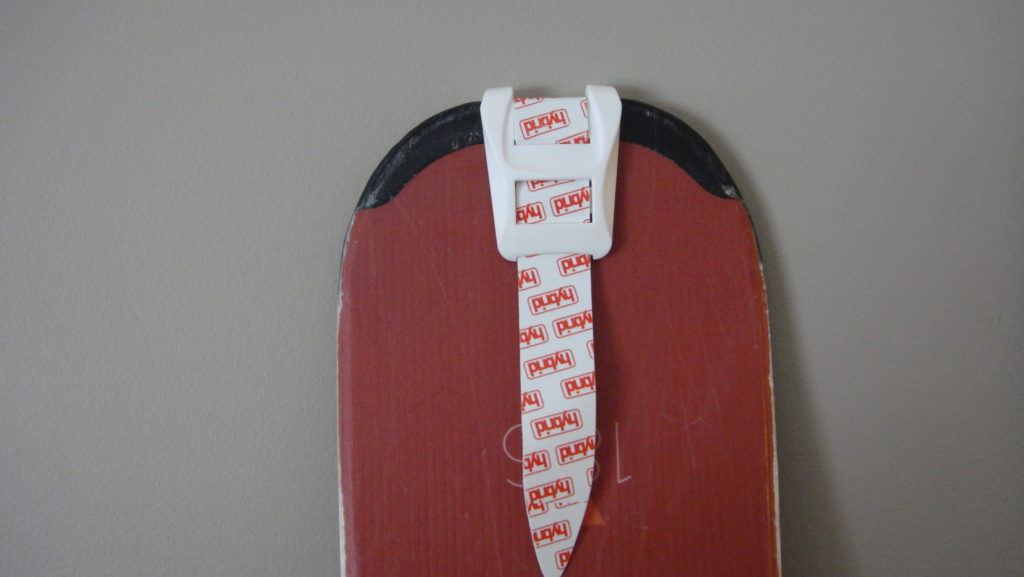
Typically you’ll see a loop at one end that goes around the tip of your ski. Some Black Diamond skins require you to attach the tip connector with small screws. Others require you to trim a narrow strip of skin that can be folded back on itself to attach the tip loop. Some skins, like the Contours, have a quick release tip loop attachment which is arguably the most convenient. In this case, if you need to trim for length, you just pop open the connector, trim the skins, and reattach the tip loop.
Regardless of which type of connectors you have, follow the instructions that come with your skins to attach them correctly.
The Goal
After trimming your skins, you want the skin to fully cover your ski base side to side with the edges still showing. Leaving the edges exposed allows you to use them when side hill skinning. Don’t worry too much if your skins aren’t wide enough to give you full coverage at the tip and tail.
If your skins aren’t quite wide enough for full edge to edge coverage, that’s just fine. You won’t have quite as much grip as you would with full coverage but you’ll survive. Do try and ensure you have full base coverage underfoot at the very least. Don’t buy 80 mm wide skins for your 110 mm wide skis…you might have a bad time.
Skin Trimmers/Cutters
There are a few varieties of trimming tool available now, and the best ones are offset. But you can trim skins with something as simple as a plain old straight razor blade.

With a simple straight edge trim tool like the one above, you have to place the skins slightly off center, trim one side, move the skins to the other side of center and trim the other edge of the skin. It’s fairly straightforward, but it’s much easier with an offset trim tool.
With an offset tool like the one provided by G3 or Contour, you place the skin centered on your ski, trim one side, then trim the other side. Easy as cake. Offset tools have a guide that runs along the edge of the ski and the blade is offset by a few millimeters (fractions of an inch) to trim the skin exactly where the metal edge meets the base. Clever.
Ski Prep
If you have a ski vise, clamp one of your skis into that bad boy. If you don’t, find a flat surface to do your prep work on like a garage bench or your kitchen table. Some skins make a bit of a mess when trimming them (fibers sometimes fly everywhere), so an area that’s easy to clean is ideal.
When trimming, having the ski securely propped against a wall or chair is a good alternative to a ski vise. In this case, you’ll be trimming in a downward motion. This is how I like to do it rather than having the ski sliding around on a table.
To avoid getting any dust or dirt on your new skin glue, the first thing you’ll want to do is clean your ski bases. I usually use a citrus based cleaner on a clean rag and make sure my bases are completely dry before laying the skins on them.
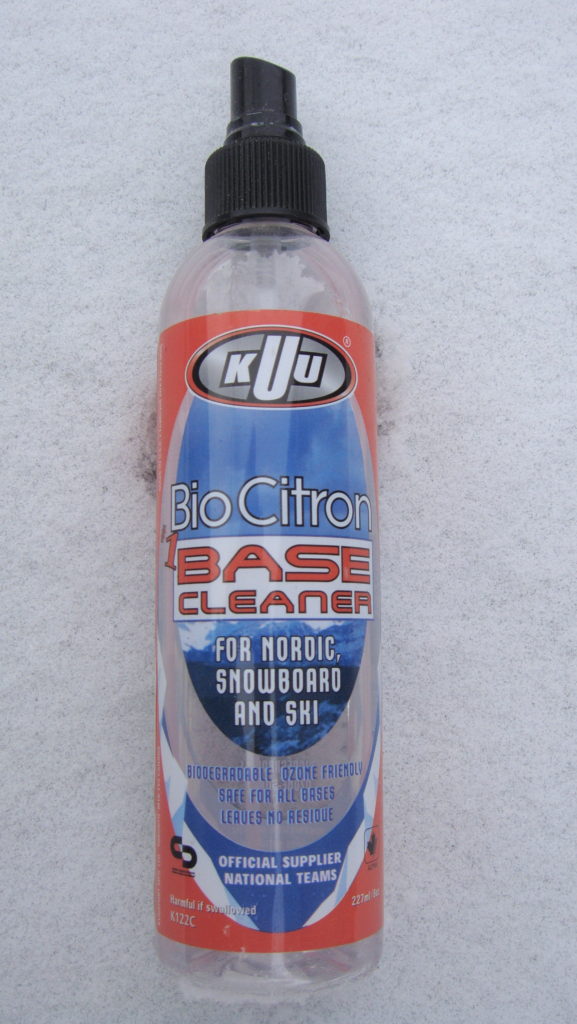
I wouldn’t use typical household cleaners in case they react poorly with the base material, but warm water with a rag and some elbow grease would work in a pinch.
Attach Tip Loop and Trim for Length
After your bases are all cleaned up, it’s time to attach the tip loop and check your skins for length. As I mentioned above, there are a few different varieties of tip connectors. Follow the instructions for your skins – you may need to trim for length before attaching the tip loop, so be aware of this.
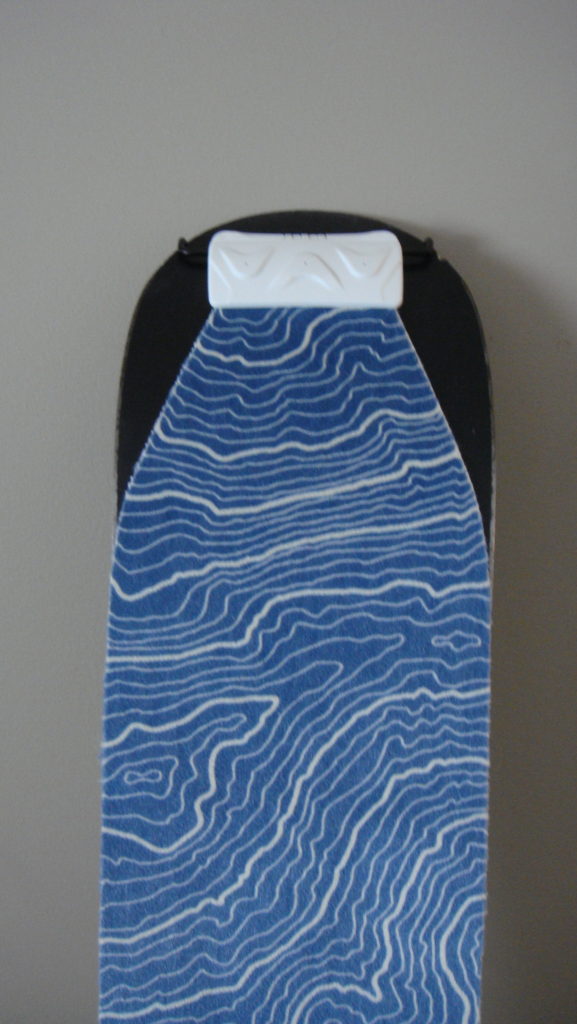
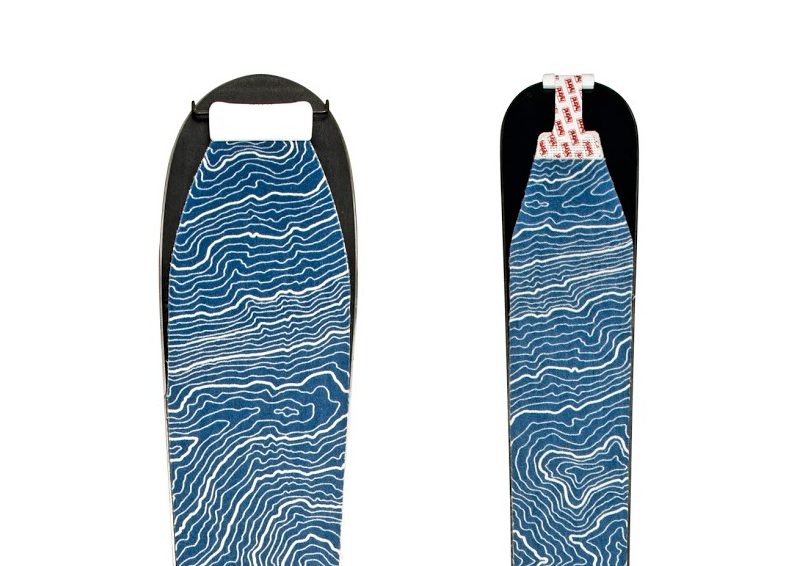
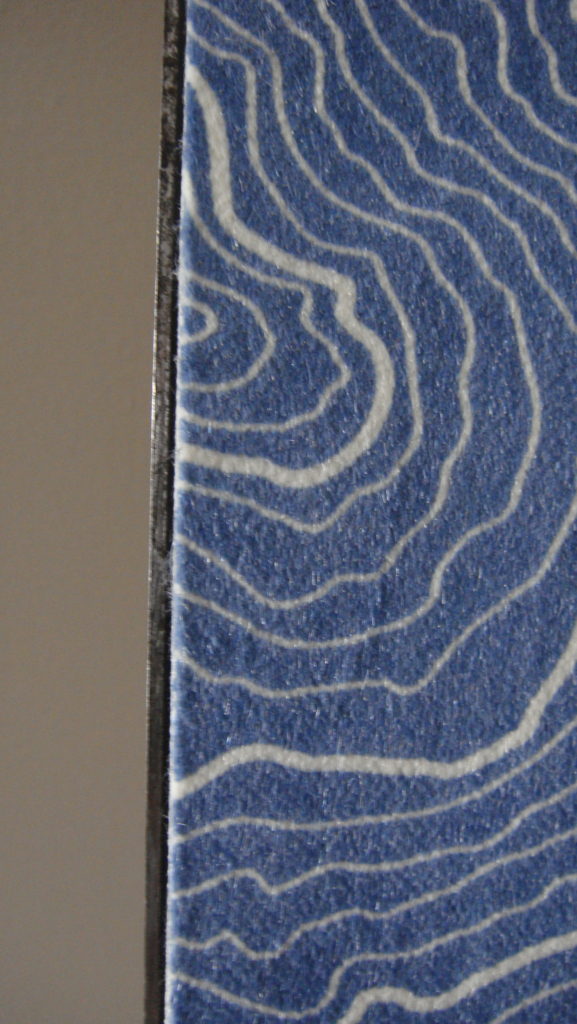
As I mentioned, I’m going to trim a pair of Contour Hybrid Mix skins. These skins have 3 long strips of plastic covering the glue. For trimming, you remove the center strip of plastic. Then you put the tip loop around your ski tip and attach the skin to the base of your ski using the exposed center strip of glue.
The 2 remaining strips of plastic cover the 2 outer edges of the skins, helping the trim tool slide easily instead of potentially getting caught on the glue. Spoiler alert: this works quite well.
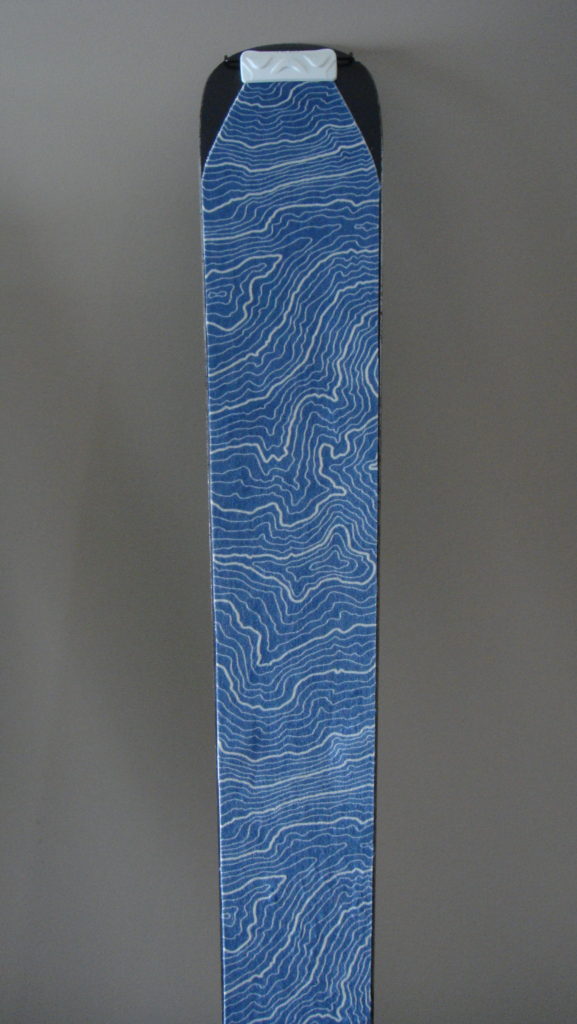
Check the Skin Length
Now that the skin is attached to your ski by the tip loop and the center strip of glue, you can check the length. Take a look at the tail connector. If the tail clip is somewhere near the middle of its adjustment range when you attach it to the ski, you don’t have to trim for length. If it’s really close to one end of the adjustment range or won’t fit at all, you’ll need to trim.
Luckily I ordered the right length for my skis (it’s not rocket science – order the length of skin that most closely matches your ski length and you’ll at least be close). If you do have to trim, follow the directions for your particular skins. For these Contour Hybrid Mix skins, you unlatch the tip connector, trim the tip, and reattach the tip connector. The only tool involved is the included skin trimming tool (or sharp scissors).
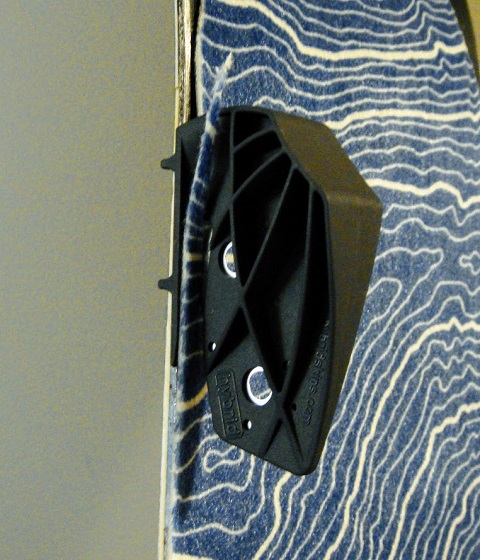
Attach the Tail Connector
Once the length is correct, you can reattach the skin to the ski base and attach the tail connector to your ski. Ensure that it’s tight – there shouldn’t be any slack at all in the tail connector.
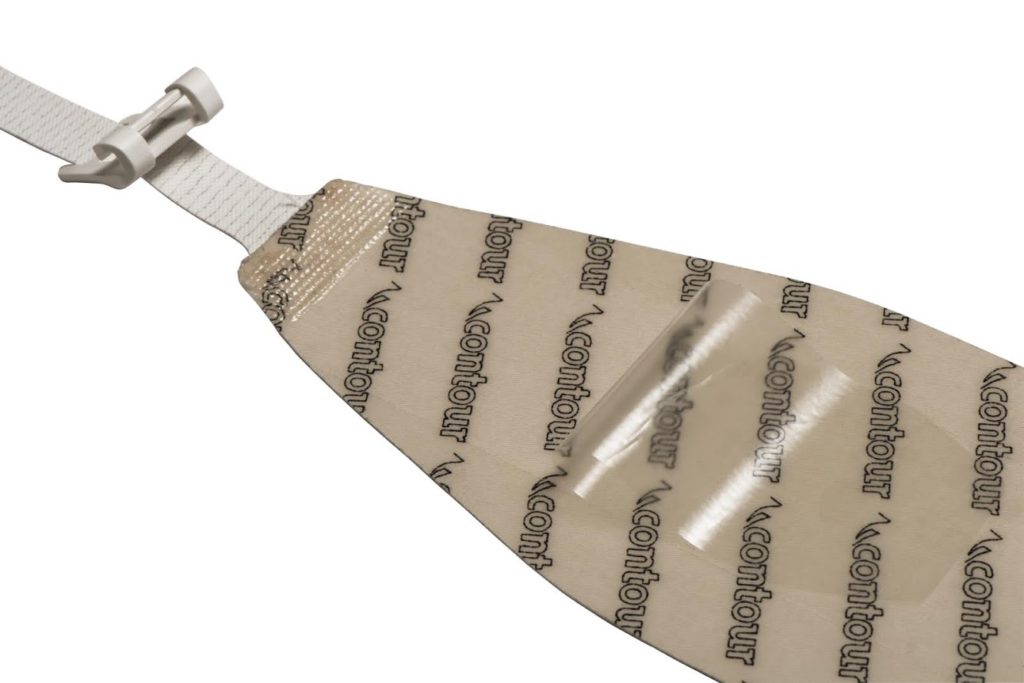
Contour skins uses a strap attached to the tail of the skin that loops through the tail connector. To tighten, you pull the strap out of the last slot, adjust the strap until it’s tight and then re-thread the strap through the last slot. This prevents the clip from moving on the strap while in use.
Trim Those Skins
It’s trimming time! Clamp those skis into a vice if you’re fortunate enough to have one or prop them against a wall or chair. Make sure they won’t slide around on you.
Grab your offset trim tool and align it with the edge of your ski. See the note at the end of this section if you don’t have an offset tool.
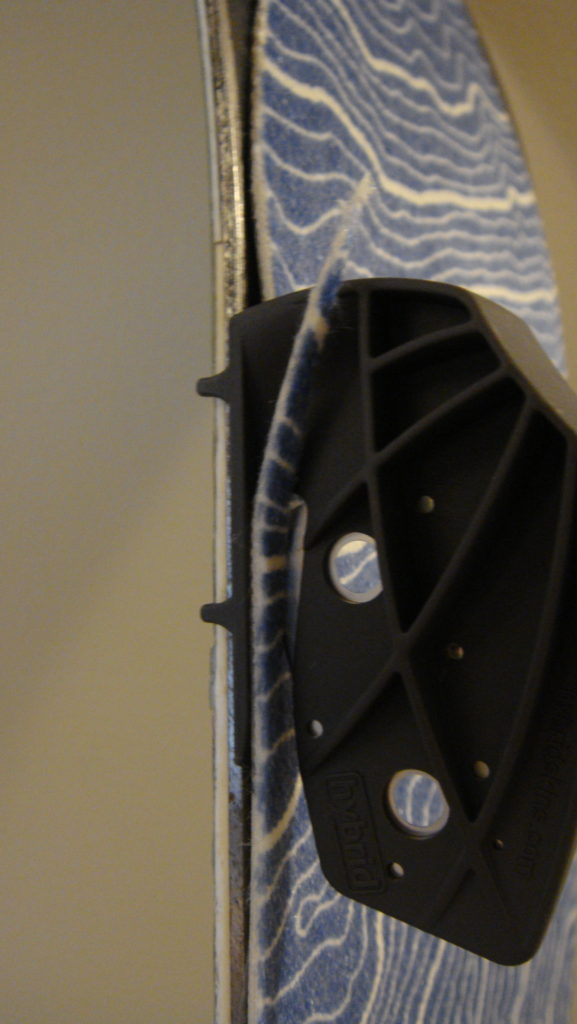
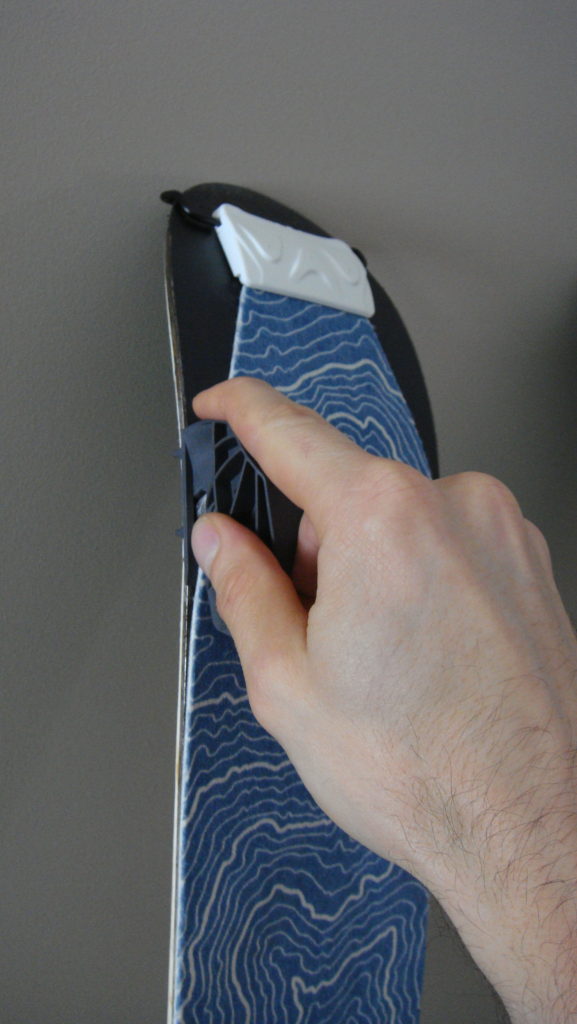
It’s important to keep the cutting tool at the same angle while trimming – don’t let it tilt side to side. Start pulling the tool down keeping it firmly pressed against the edge of your ski. Trim all the way down the edge of the ski.
One thing to be aware of is that when you’re starting to trim is that it’s possible to get the tool in between the plastic film and the glue on the bottom of the skin. Just take a close look when you start trimming to avoid this.
Don’t worry if you don’t make a perfect edge and you have to go back and fix up a spot or two. The tool is sharp enough that you can make fine adjustments afterwards.
When the first edge is complete, it’s time to move on to the second edge. Don’t move the skin. Depending on the tool, it might be helpful to flip the ski end over end so you’re still trimming in a downward motion. This is what I did for my Contour skins and it worked well.
Follow the same directions for the second edge, keeping the tool at the correct angle while trimming. When you’re happy with the second edge, take the skin off the ski, remove the 2 remaining plastic backing strips, and you’re good to go.
Note For Straight Edge Tools
If you don’t have an offset trim tool, attach the skin so it is slightly off center to one side. Trim the edge that is overhanging more than the other. Reattach the skin off center to the other side. You want it offset enough so that after you trim along the second edge and re-center the skin, both metal edges of your skis will be exposed. Take a measurement to figure out exactly how far you need to offset the skin for the second cut. When you offset to trim the second edge, you should see metal edge and a couple mm of base on the other side. Measure twice, cut once.
Skin Storage – Cheat Sheets, Storage Bag
One of the great features of Contour’s 2-layer adhesive system is that the skins are really easy to separate when stored glue to glue. Even at room temperature they’re ridiculously easy to peel apart. No cheat sheets/skin savers required! I’m really looking forward to using these in the field.
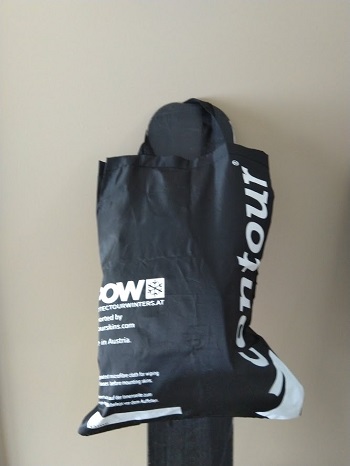
The bottom line is that they should always be stored in the provided storage bag. The glue is particularly susceptible to not performing well if it gets contaminated with dust/hair/etc. I’ll have to be careful with these. They’re basically the polar opposite of my Climbing Skins Direct skins. My old pair has atrocious looking glue, but they still stick almost as well as they always have.
Links to Trimming Instructions
Here are a few videos specific to other models of skins that will walk you through the trimming process:
Black Diamond: https://www.youtube.com/watch?v=6QuDebcSMco
G3: https://www.youtube.com/watch?v=7fp_pttXsq0
Contour: https://www.youtube.com/watch?v=mfl84khjBdA
Closing Thoughts
That’s trimming climbing skins in a nut shell, and like I said at the beginning: anyone can do it. Take your time and plan everything out well and you shouldn’t have any issues. An offset tool and a ski vise make the job a lot easier.
Stay tuned for more updates on the Contour Hybrid Mix climbing skins. If you have any questions about trimming skins, don’t hesitate to ask in the comments below.